Step1 Log into cPanel:
- Go to your cPanel login page (typically https://yourdomain.com/cpanel).
- Enter your cPanel username and password to access the dashboard.
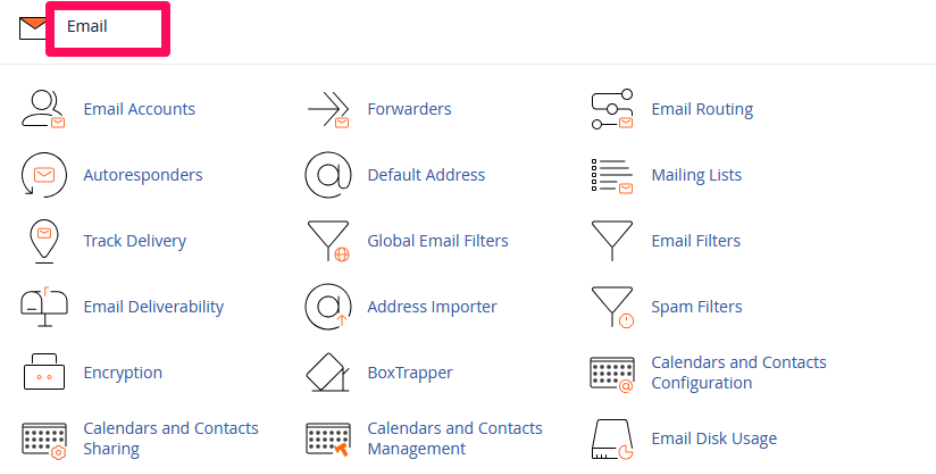
Step 2 Navigate to the Email Section:
- In the cPanel home screen, find and click on the “Email” section.
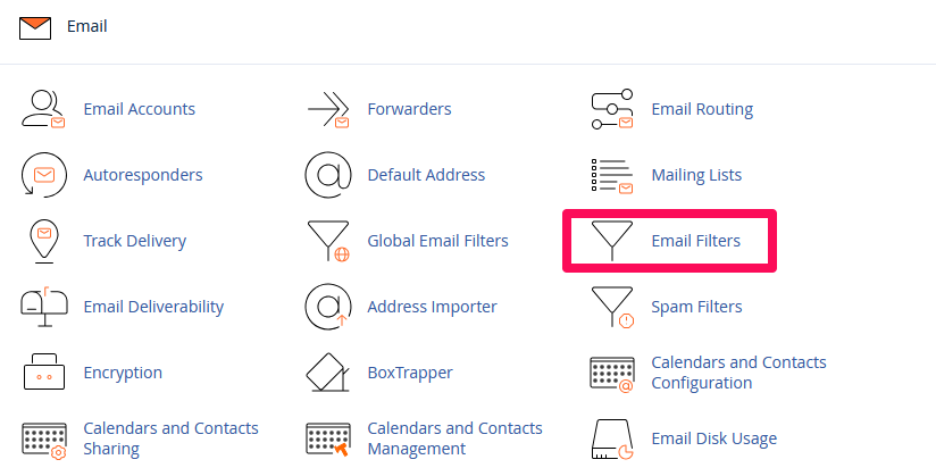
Step 3 Click on “Email Filters”:
- Under the Email section, locate and click on “Email Filters” (this might be called “Global Email Filters” or “Email Filtering” depending on your cPanel version).
Step 4 Choose the Account (If applicable):
- If you have multiple email accounts under the same domain, select the email account you want to apply filters to.

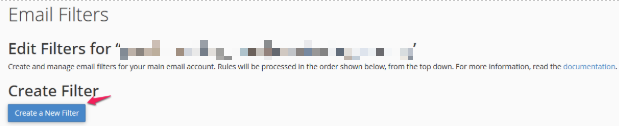
Create a New Filter:
- Click the “Create a New Filter” button to set up a new filter.
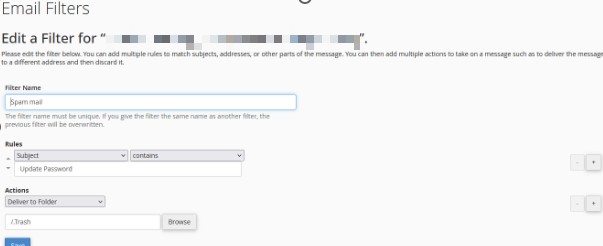
Name Your Filter:
- Provide a name for your filter (e.g., “Spam Filter”, “Work Emails”, etc.).
Step 5 Define Filter Rules:
- Under “Rules”, you’ll see a set of conditions to define your filter:
- From: Choose if you want to filter emails from a specific email address or domain.
- Subject: Filter emails with specific words in the subject line.
- To: Filter emails addressed to a specific recipient.
- Body: Filter based on content in the email body.
- Other options: Customize by including or excluding specific headers or IP addresses.
- You can add multiple rules by selecting “Add Another Rule” to narrow your filter criteria.
Step 6 Set Filter Actions:
- Under “Actions”, choose what you want to happen when an email matches your filter rules:
- Discard: Delete the email automatically.
- Send to Folder: Move the email to a specific folder (like Spam).
- Redirect: Forward the email to another email address.
- Set Flag: Mark the email with a specific flag (e.g., “Important”).
- Move to Folder: Move it to a designated folder.
- Fail with Message: Reject the email with a custom error message.
Test Your Filter:
- Once you’ve set your desired filter conditions and actions, click Save or Create to apply the filter.
- You can test by sending an email that matches the criteria to see if the filter works as expected.
Email filter created

Step 7 Manage Your Filters:
- You can edit, delete, or deactivate filters by clicking the corresponding buttons next to each filter listed in your Email Filters page.