Published Date: 3rd November 2026
Last Updated: 3rd November 2026
Category: Email Hosting / Webmail
Tested With: Roundcube Webmail
Adding Contacts to Your Address Book in Roundcube Webmail
Roundcube Webmail includes an Address Book where you can save frequently used email addresses and contact information. Saved contacts can then be selected when composing emails instead of entering their email addresses manually. Roundcube Address Book documentation confirms that the Contacts section provides access to personal and shared address books and supports creating and managing contacts.
Prerequisites
Before proceeding, ensure that:
- You have access to your webmail account.
- You can successfully sign in to Roundcube Webmail.
- You are aware of the contact’s name and email address that you wish to keep.
How to Add a New Contact in Roundcube
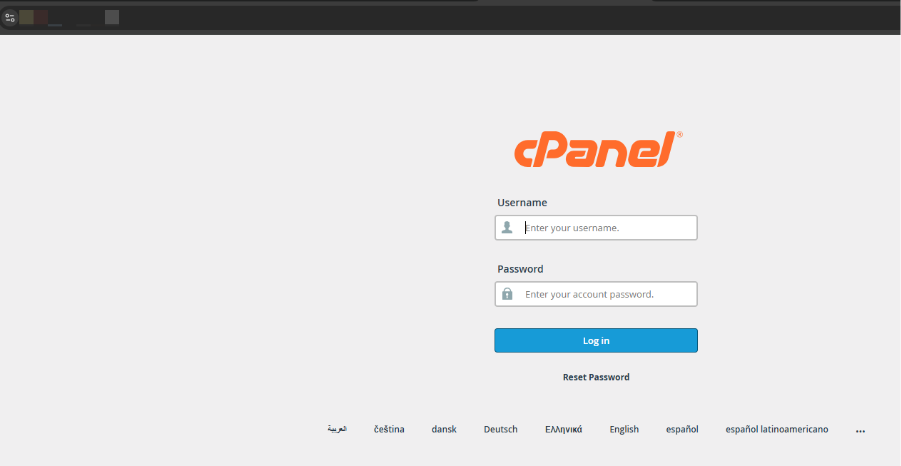
Step 1: Log in to Roundcube Webmail
Open your webmail login page and sign in using your email account credentials.
Step 2: Open Contacts
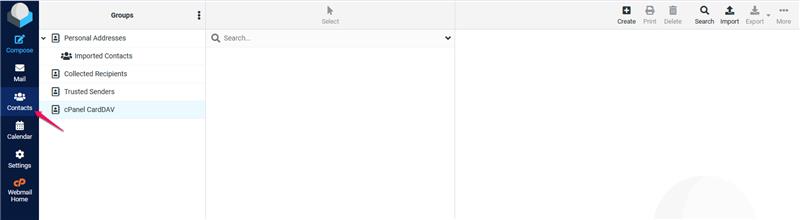
After logging in, select Contacts from the Roundcube menu.
This opens the Address Book, where existing contacts can be viewed and managed. Roundcube Address Book documentation identifies this area as the interface for contact data stored in personal or shared address books.
Step 3: Select the Address Book
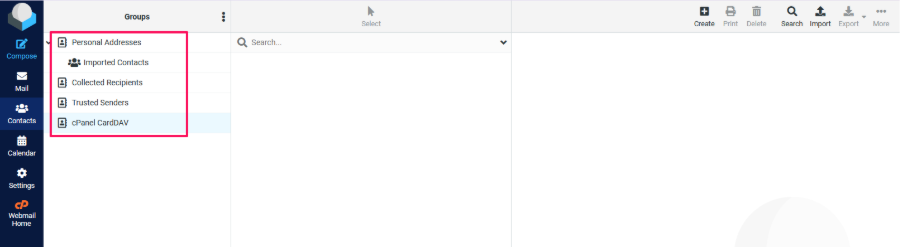
If multiple address books are available, select the address book where you want to save the new contact.
For most users, this will be the personal address book.
Step 4: Create a New Contact
Click the Create or Create new contact (+) option.
Roundcube’s contact documentation confirms that a new contact can be created from the Contacts list using the Create new contact option.

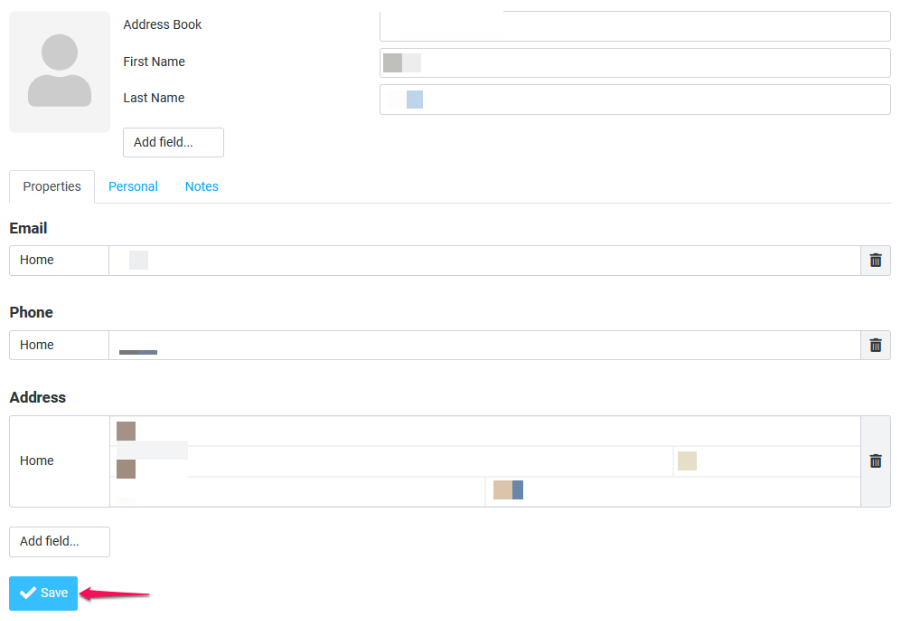
Step 5: Enter the Contact Information
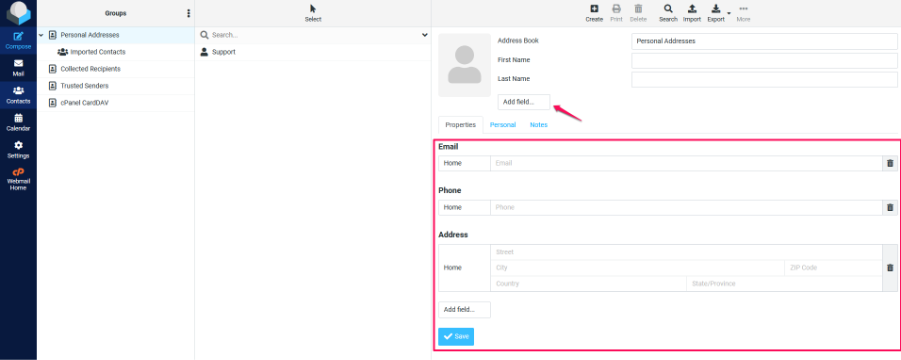
Enter the available information for the new contact.
Depending on the Roundcube version and configuration, contact information may include:
- First name
- Last name
- Display name
- Email address
- Organization
- Phone number
- Address
- Website
- Notes
Roundcube also supports additional contact properties through the Add field option, although the properties available can differ depending on the selected address book or directory.
Step 6: Save the Contact
Review the information entered and click Save.
Roundcube creates the contact in the selected address book after the contact form is saved.
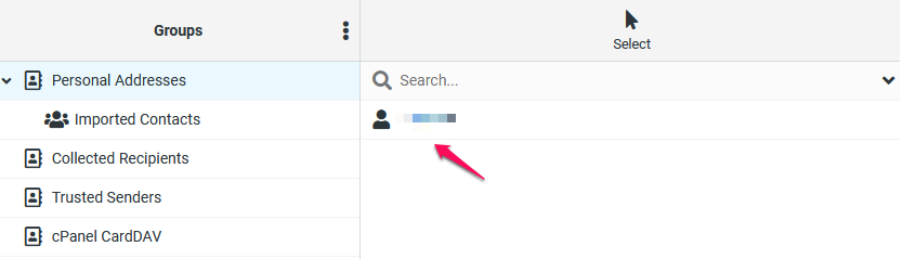
Step 7: Verify the New Contact
Return to the Contacts list and search for the newly added contact.
Verify that the email address and contact name are displayed correctly.
Alternative Method: Add a Contact Directly from an Email
Roundcube can also allow a sender’s email address to be added to your Address Book directly from a received message. In the commonly used Elastic interface, selecting the sender’s email address provides an Add to address book option.
Step 1: Open the Email
Open a message received from the person you want to add.
Step 2: Select the Sender
Click the sender’s email address or the available contact option beside the sender information.
Step 3: Add the Sender
Select Add to address book.
Step 4: Review the Contact
Open Contacts and locate the newly added contact.
Edit the contact if you want to add additional information such as a phone number, organization, address, or notes.
How to Edit an Existing Contact
To update a saved contact:
- Open Contacts.
- Select the required contact.
- Click Edit contact.
- Modify the required information.
- Click Save.
Roundcube’s official documentation confirms that saved contacts can be edited by selecting the contact and using Edit contact, followed by Save after making the required changes.
Common Problems
The Contacts Option Is Not Visible
- Confirm that you are logged in to Roundcube Webmail.
- Check the Roundcube application menu.
- The position and appearance of the option may differ depending on the Roundcube theme or configuration.
The Contact Does Not Appear After Saving
- Confirm that Save was selected.
- Check that the correct address book is being viewed.
- Use the email address or contact name to find the person.
- Refresh the Roundcube page and check again.
The Email Address Was Saved Incorrectly
Open Contacts, select the affected contact, click Edit contact, correct the email address, and click Save.
I Cannot Add Additional Contact Information
Use the Add field option where available. Roundcube notes that the properties available can vary depending on the directory in which the contact is stored.
Frequently Asked Questions (FAQ)
1. Can a contact have more than one email address stored?
Roundcube supports adding additional contact properties, and email properties can include a type such as home or work. The available fields can vary according to the configured address book.
2. Can I edit a contact after creating it?
Yes. Select the saved contact, choose Edit contact, make the required changes, and click Save.
3. Can I add a contact directly from the email that I have received?
Yes. Roundcube interfaces can provide an Add to address book action for an email sender.
4. Can I organize contacts into groups?
Yes. Roundcube’s Address Book provides contact-group functionality, including creating groups and assigning or removing contacts from groups.
5. Can I import existing contacts into Roundcube?
Yes. Roundcube’s Address Book includes contact import and export functionality.
Summary
To add a contact in Roundcube Webmail:
Log in to Roundcube → Contacts → Select Address Book → Create New Contact → Enter Contact Details → Save
Saving frequently used contacts makes addressing new messages easier and helps maintain a centralized personal Address Book in webmail.
Refer to Roundcube: Address Book and Roundcube: Creating and Editing Contacts for further information about managing contacts.
Need Help with Microsoft 365?
Oryon provides Microsoft 365 licensing, email hosting, migration, mailbox administration, security configuration, and ongoing technical support for businesses in Singapore.