Step 1: Log in to your Office Admin Panel.
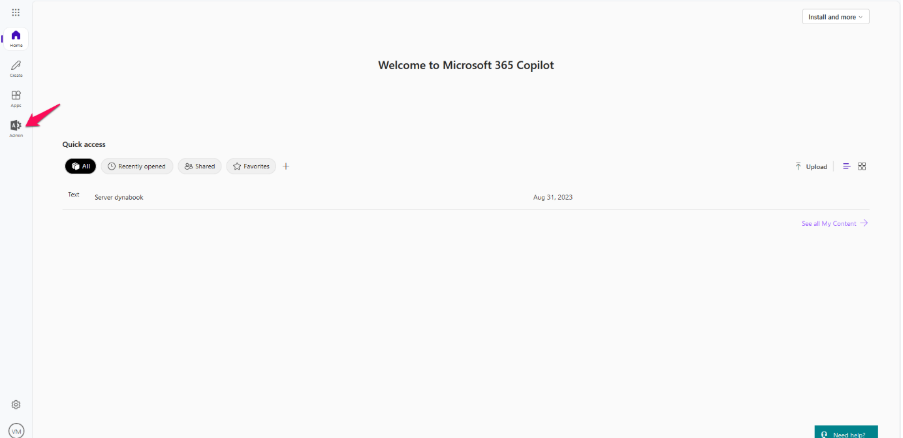
Step 2: Click Admin.
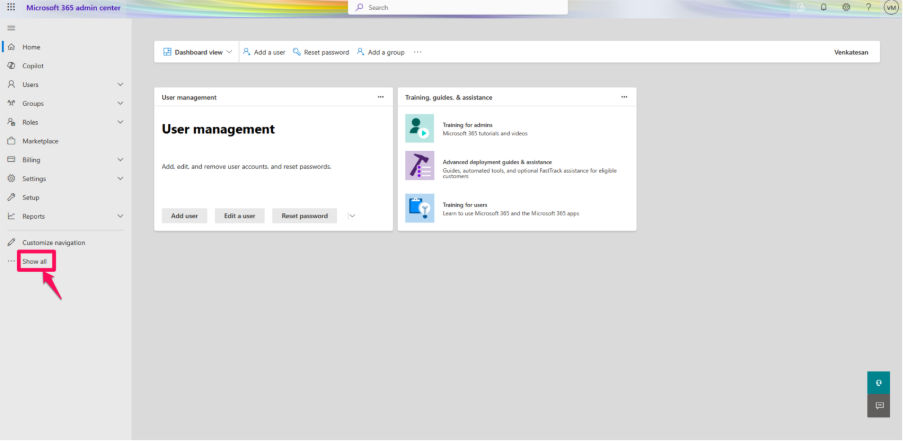
Step 3: In the lower-left navigation, click Show All.
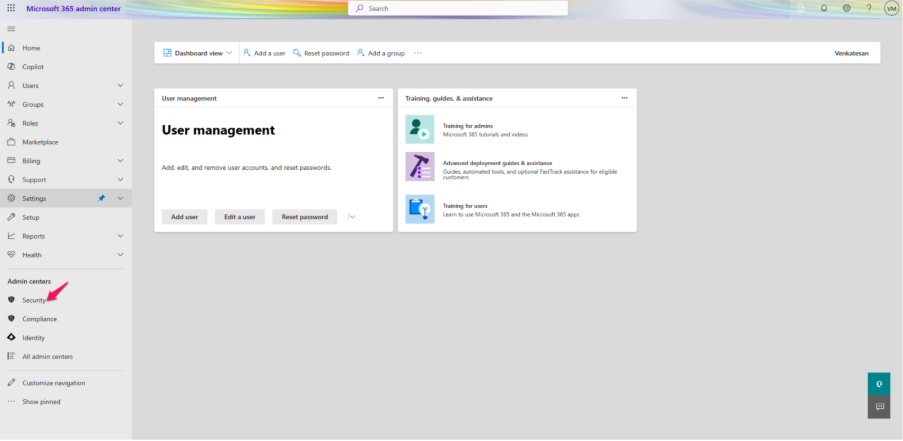
Step 4: Under Admin Centers, click Security.
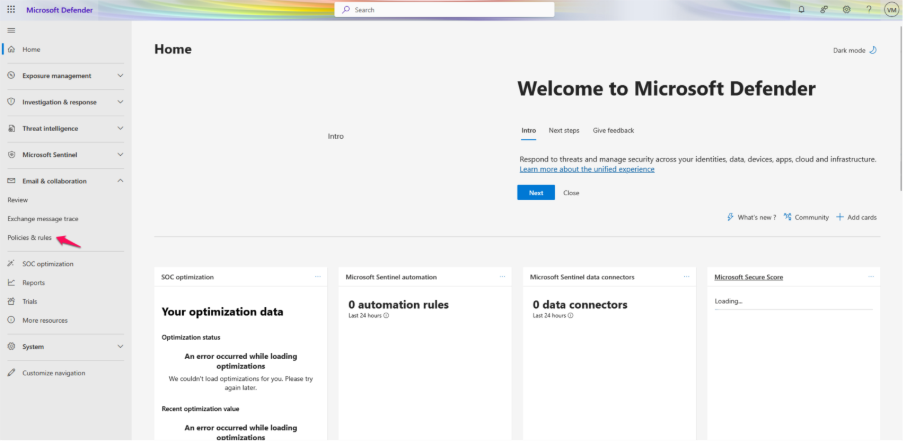
Step 5: In the Microsoft Defender portal, go to Email & Collaboration > Policies & Rules.
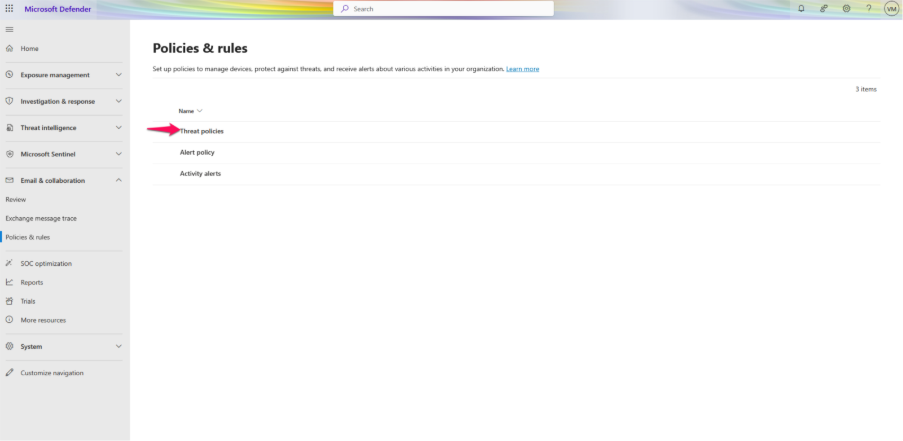
Step 6: Click Threat Policies.
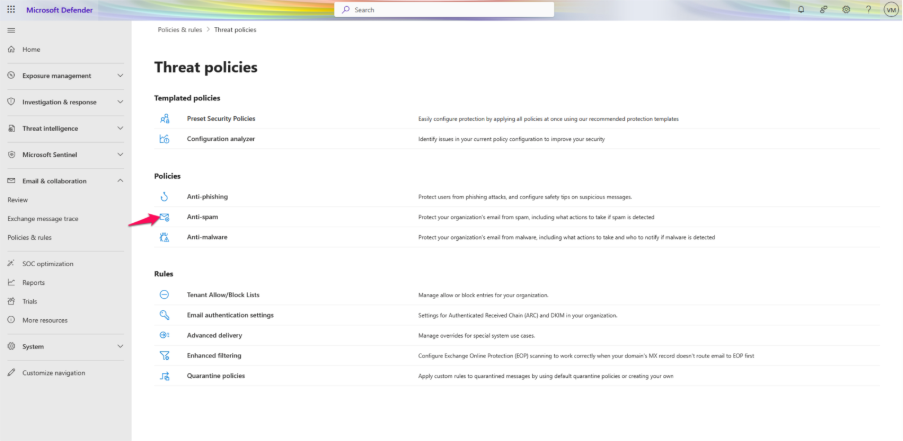
Step 7: Click Anti-Spam Policies.
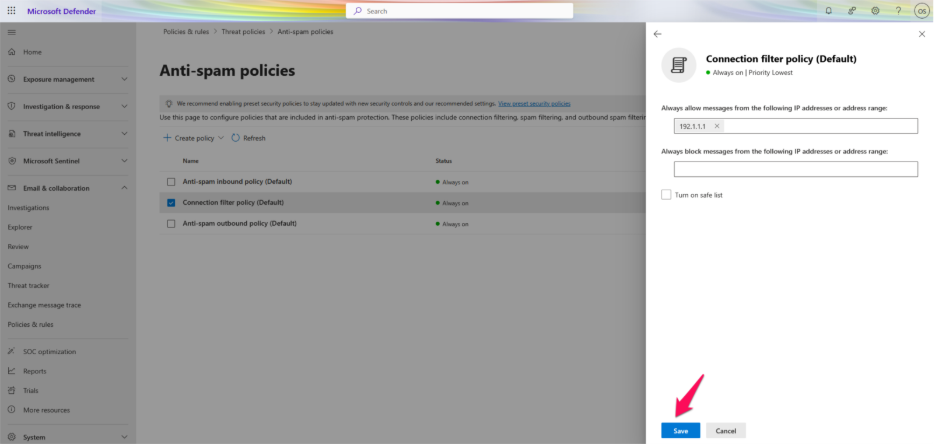
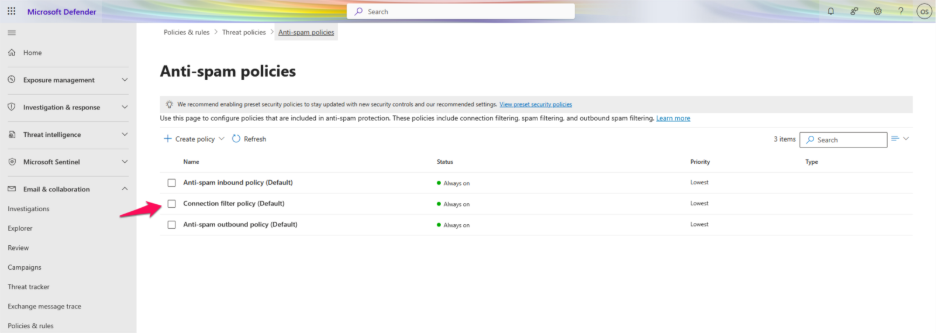
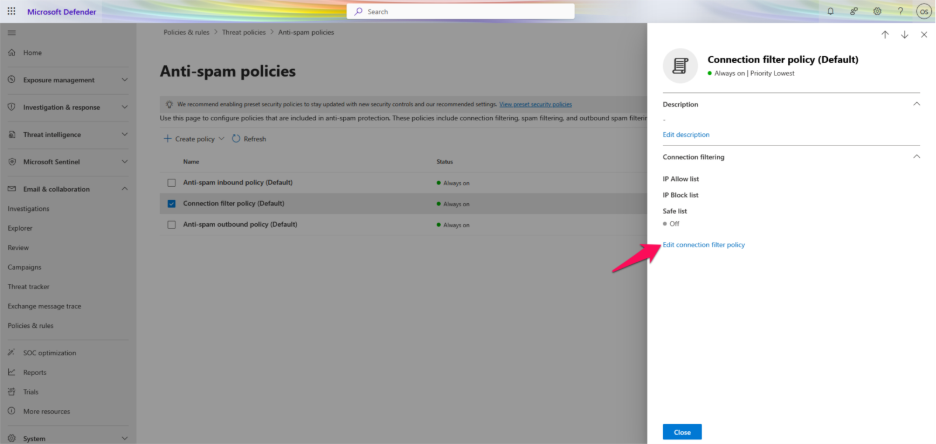
Step 8: Select Connection Filter Policy (Default).
Step 9: Click Edit Connection Filter Policy.
Step 10: Under, Always allow messages from the following IP addresses or address range, enter the IP address or range.
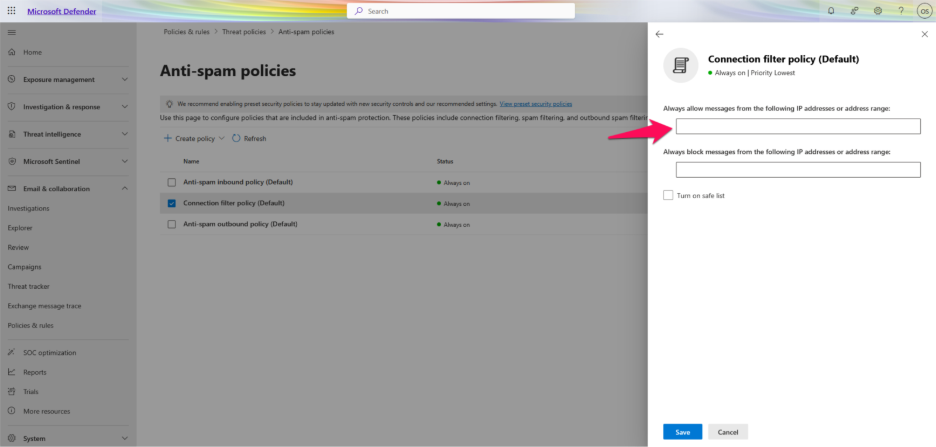
Step 11: Click Save.