Last Reviewed: 05 November 2026
Last Updated: 05 November 2026
Category: cPanel
Tested Version: 138.0.19
Quick Answer
The cPanel Autoresponders tool lets you create predefined replies for incoming messages sent to a selected email address. It is useful for keeping senders informed when you are temporarily unavailable or unable to check your mailbox.
Once configured, the autoresponder will automatically send your predefined message to incoming email senders during the specified period.
Steps to Create a New Auto Responder
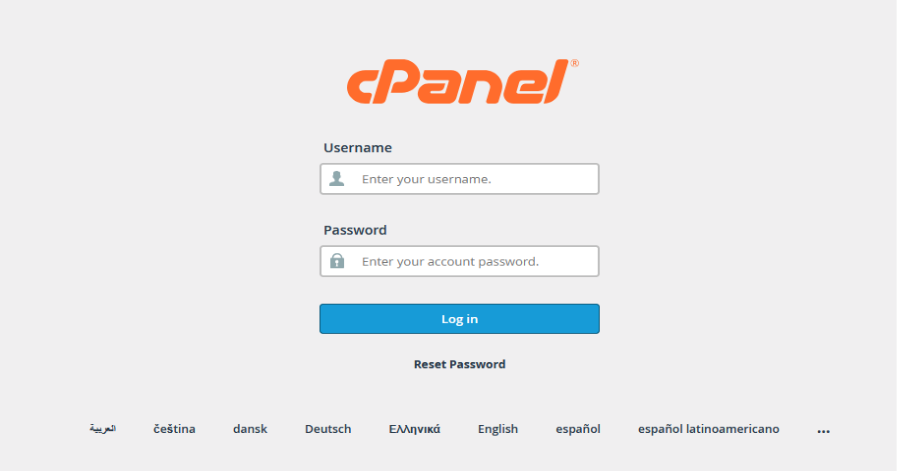
Step 1: Log in to cPanel
Access your cPanel account with your registered login credentials.
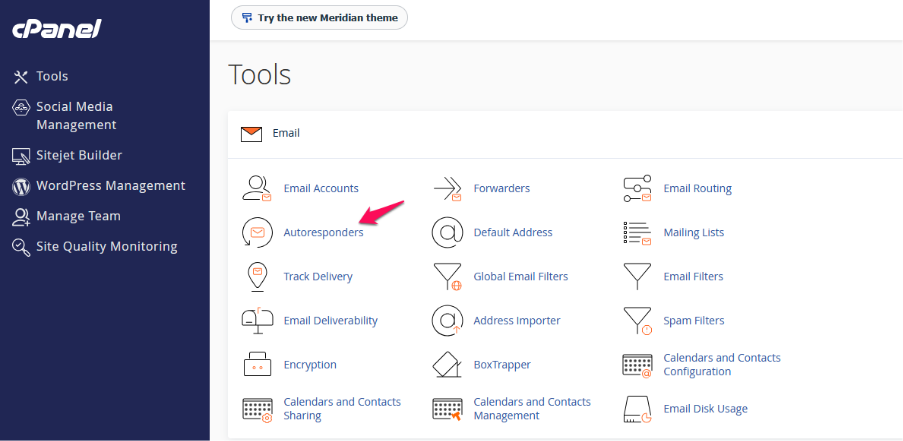
Go to the Email area after logging in, then choose Autoresponders.
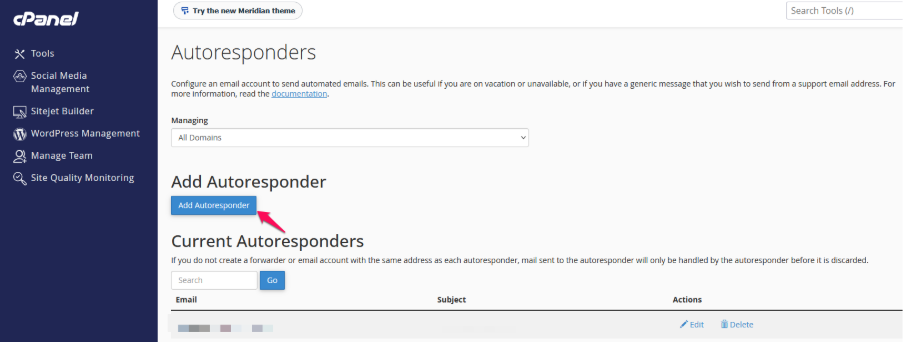
Step 2: Add a New Auto Responder
Once the Autoresponders interface appears, click Add Autoresponder to begin configuring your automatic email response.
Step 3: Configure the Auto Responder Settings
Configure the following parameters on the Add Autoresponder page:
- Character Set: Keep the default value as utf-8.
- Interval: Specify the number of hours the system should wait before sending another automatic response to the same email address. For example, enter 24 to limit responses to once every 24 hours.
- Email: Type in the email address you wish to set up the autoresponder for.
Note: Setting the interval to 0 will send an automatic response to every incoming email.
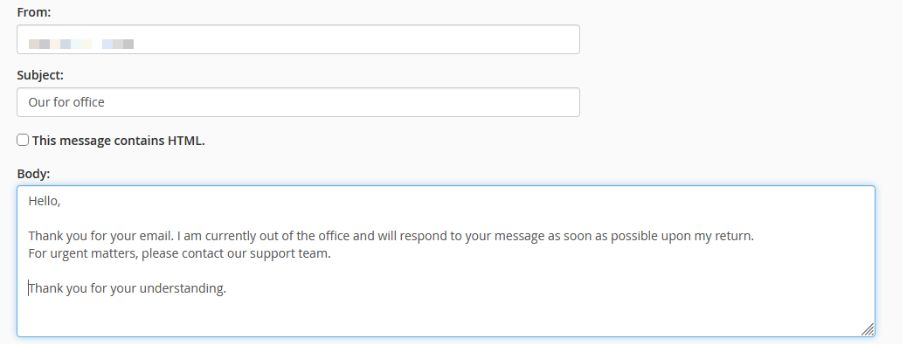
Step 4: Configure the Response Message
Enter the following details to configure your automatic response:
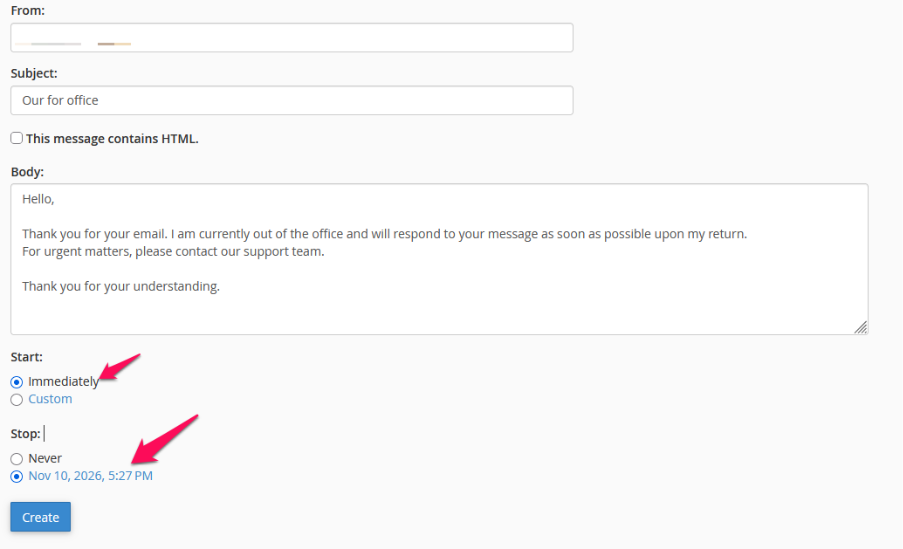
- From: Enter the name that you want recipients to see as the sender of the automatic response.
- Subject: Provide a suitable heading for the automated reply message.
- Body: Enter the message that you want to send automatically to incoming email senders.
If your response message contains HTML formatting, select the HTML checkbox.
Example of an automatic response:
Thank you for your email.
I am currently away and may have limited access to my email. Your message has been received, and I will get back to you when I am available.
For urgent matters, please contact our support team.
Thank you for your understanding.
Step 5: Configure the Start and Stop Time
Configure when you want the autoresponder to become active and when it should stop sending automatic responses.
Start:
- Immediately: Activate the autoresponder immediately.
- Custom: To activate the autoresponder, provide a specific date and time.
Stop:
- Never: Keep the autoresponder active until it is manually removed.
- Custom: Specify a particular date and time when the autoresponder should stop.
Note: If you select a custom stop time, it must be later than the configured start time.
Step 6: Create the Auto Responder
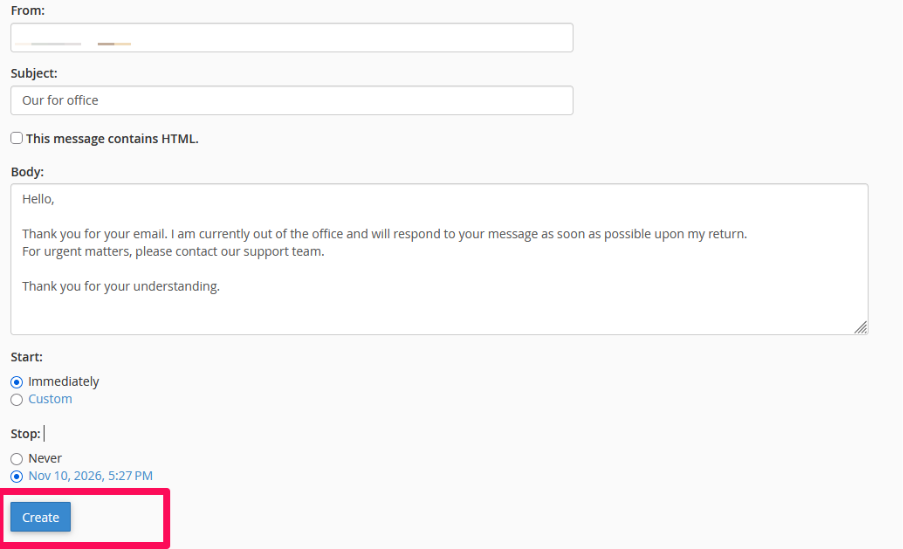
Once all the required details have been configured, review the settings and click Create to save the autoresponder.
Step 7: Verify the Auto Responder
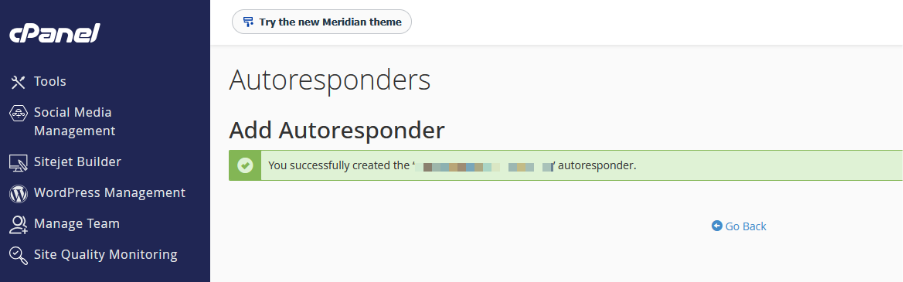
After successfully creating the autoresponder, you will be redirected to the Autoresponders interface.
Under Current Autoresponders, you should be able to see the newly created autoresponder along with its associated email address.
Final Output
Once the autoresponder has been successfully configured, anyone who sends an email to the specified email address during its active period will automatically receive the predefined response.
Note: Incoming emails will continue to be delivered to the mailbox as usual. The autoresponder does not prevent incoming messages from reaching the inbox.
Common Problems
Auto Responder Is Not Sending Automatic Replies
Resolution:
- Verify that the autoresponder is configured for the correct email address.
- Check whether the configured start and stop times are correct.
- Verify the interval setting. The system will not send another response to the same sender until the configured interval has elapsed.
- Check whether the incoming message has been assigned a spam score of 5 or higher, as cPanel autoresponders ignore such messages.
Unable to Create a New Auto Responder
Resolution:
cPanel allows only one autoresponder for each email address. If an autoresponder already exists for the selected email address, locate it under Current Autoresponders and modify the existing configuration instead.
Autoresponders Option Is Not Available in cPanel
Resolution:
The Autoresponders feature may have been disabled . Please contact the Oryon Service Desk for further assistance.
Additional Information
For any email address, you can only set up one autoresponder.
Setting the interval to 0 sends an automatic response to every incoming email.
You can modify an existing autoresponder by selecting Edit under Current Autoresponders and clicking Modify after making the necessary changes.
To remove an autoresponder, select Delete next to the relevant email address and confirm by clicking Delete Autoresponder.
The following tags can be used in your reply message:
- %subject% – Inserts the original email’s subject into the automatic reply.
- %from% – Displays the sender’s name or email address.
- %email% – Displays the sender’s email address.
For more information, refer to the official Autoresponders | cPanel & WHM Documentation.
Need Further Assistance?
If you require assistance creating, modifying, or troubleshooting an autoresponder for your email account, please contact the Oryon Service Desk for further assistance.